
Food Devils Builds Tier List
Rank Warrior, Shielder, Mage, and Healer frameworks around Devil Contracts, Master Rules, and Calories engines.
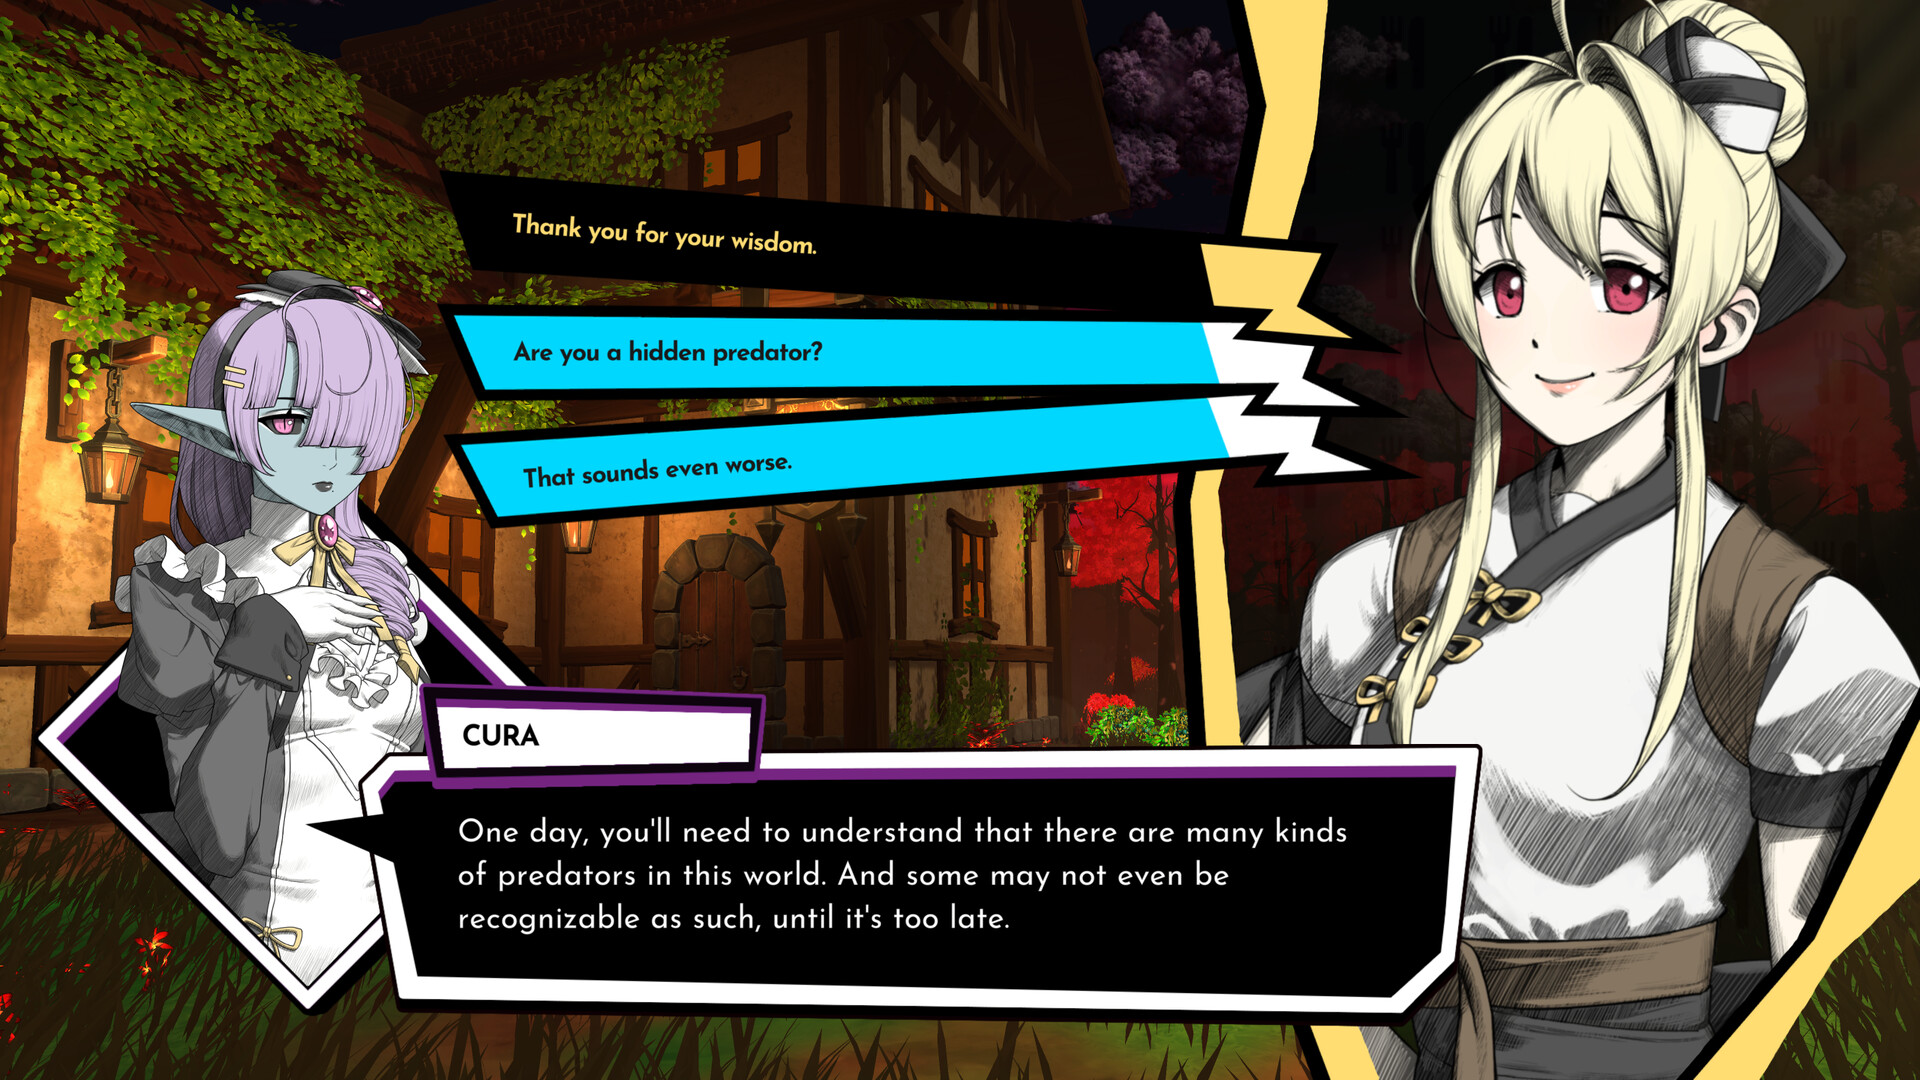
This builds tier list ranks Early Access party frameworks in Food Devils — not individual randomized adventurers. Every human recruit arrives with personal traits and stats, then a Devil Contract can reclass them, change mobility, rewrite starting skills, and even alter appearance. The same Warrior body can become a Bonfire battery under Hunter or a stack enabler under Poison. Treat grades as archetype grades that assume average Skill Pack luck and a finished prologue understanding of Calories and Hunger.
Pair this page with the Devil tier list, the Devils Hub, and combat tactics. If you are still unlocking the restaurant loop, skim Getting Started first.
Build grading legend
| Grade | Meaning for builds |
|---|---|
| S | Reliable across biomes; amplifies common Master Rules |
| A | Strong when Contracts and Skill Packs align |
| B | Works, but needs more merchant luck or hub prep |
| C | Niche or anti-synergy with popular EA captains |
We evaluate four base classes — Warrior, Shielder, Mage, Healer — then call out Contract synergies, Skill Pack directions, and Calories economy plans that win long expeditions.
Core loop reminder
Each expedition is a roguelite route: choose a captain Devil, pick a Master Rule, fight handcrafted tactical maps, collect ingredients, and evolve units through Skill Packs, events, and merchants. Between runs you cook, decorate, recruit, and deepen Devil relationships. Builds that ignore the hub half of the game fall behind because stronger adventurers and better starting tools come from the restaurant.
Calories are the expedition resource you generate through Master Rule behavior — for example ending turns beside Bonfire tiles under certain Hunter rules, or triggering summon / stack payoffs under Poison. Hunger and positioning decide whether those Calories arrive safely or whether your frontline collapses first.
Warrior builds — S under Hunter, A flexible
Warriors are the default damage and pressure class. Under a Hunter Devil Contract they often keep a Salty, aggressive toolkit that pairs with Beast-style chase lines and Prey focus. Signature Devil skills like Jägermeister and Primordial Instinct teach the party to commit; Warrior bodies are usually the ones committing.
S-tier Warrior directions
- Prey / Slow enforcers that pin priority targets
- Fury carriers that convert risk into burst windows
- Bonfire-adjacent strikers that fight near Calories tiles instead of sprinting alone
A-tier Warrior directions
- Hybrid Warriors who pick up utility Skill Packs (pulls, tile creation, team Calories)
- Sweet-leaning physical bruisers when Dessert Devil captains the run
Skill Pack ideas: prioritize packs that add gap close, follow-up attacks, or Bonfire / tile creation if your Master Rule cares about those spaces. Avoid packing three redundant damage skills with no survival tool.
Contract tip: If Hunter grows close to Poison, borrowing a Poison Contract onto one Warrior can create a rare physical stack applicator — a veteran tech line, not a day-one requirement.
Shielder builds — S for stability, A for Bombee tech
Shielders keep expeditions alive. Studio Daimon’s own examples highlight how a Shielder can grant Armor and shove enemies on one run, then summon Bombees to support poisoned allies on another. That flexibility is why Shielders sit near the top of most Early Access benches.
S-tier Shielder directions
- Classic Armor walls for Hunter or Dessert frontlines
- Reposition / shove tanks that fix bad spawn geometry
- Dual-purpose defenders who create safe Bonfire pockets for Calories farmers
A-tier Shielder directions
- Bombee specialists under Poison Devil Master Rules
- Off-tank Shielders who invest Skill Packs into soft damage or Coagulation support
Skill Pack ideas: Armor amp, taunt-like attention tools, summon supports, and any pack that lets the Shielder act twice in a pinch. Calories economy loves Shielders who can stand on or create valuable tiles without dying.
When Shielders drop to B: if you greed a four-damage party with no defensive Contract and then blame the class — recruit or Contract a real wall before the next boss node.
Mage builds — S under Poison, A as flexible artillery
Mages shine when Infantry positioning and Sour stack plans are online. Poison’s Poison Eater, Toxic Majesty, and Awakening-style Master Rules want casters who can apply, hold, and detonate status without eating friendly fire.
S-tier Mage directions
- Primary stack applicators for Coagulation / Poison plans
- Tile controllers who set up Bombee detonations
- Long-range finishers that cash in Slow or Prey set by allies
A-tier Mage directions
- Hunter-adjacent Mages who focus Slow application while Warriors kill
- Sweet utility casters that buff Dessert muscle lines instead of carrying raw DPS
Skill Pack ideas: multi-target application, safe detonation tools, movement point refunds, and Codex Clause synergies that buff the whole party. Kamon has noted that skill combinations can even push a Healer toward tank or debuff roles — the same philosophy applies when a Mage picks defensive packs.
Beginner warning: Infantry Mage misplays are expensive. Practice lanes in Training Grounds before you take a glass cannon into a new biome.
Healer builds — A default, S in attrition maps
Healers are easy to underrate in short demo skirmishes and mandatory in longer Early Access routes. Expeditions punish overcommitment; a Healer who also carries a secondary job (Cleanse, tile support, light debuff) climbs to S on maps with residual damage or stack backlash.
A-tier Healer directions (most runs)
- Pure sustain paired with a Shielder wall
- Hybrid Healers with one offensive Skill Pack for mop-up
S-tier Healer directions (attrition / stack parties)
- Poison-party Healers who stabilize allies interacting with Bombee or Coagulation loops
- Utility Healers converted toward defensive tanking through clever Skill Packs — possible according to developer commentary on class fluidity
Skill Pack ideas: group heal upgrades, emergency invuln-style tools if available, and any pack that generates Calories when healing near Master Rule tiles. Do not spend every pack on damage “because the Healer never crits.”
Contract synergy matrix
| Captain | Best class focus | Contract fantasy |
|---|---|---|
| Hunter | Warrior + Shielder | Salty pressure, Prey control, Bonfire Calories |
| Poison | Mage + flexible Shielder | Sour stacks, Bombee, Coagulation timing |
| Dessert | Warrior / bruiser + Healer | Sweet muscle fantasy, sustain for aggressive lines |
Relationship perks that allow mixed Contracts are a mid-to-late EA power spike. Until then, lean into the captain’s identity instead of forcing a dual-Devil theorycraft you have not unlocked.
Skill Pack shopping rules
- Master Rule first — if the rule cares about Bonfires, buy tile and positioning packs before raw damage.
- One economy piece per party — someone should generate Calories on purpose.
- One panic button — revive, big heal, or disengage skill reserved for boss turns.
- Stop triple-stacking the same niche — three gap closers and no Armor is how runs die.
- Reroll with restaurant knowledge — stronger recruits reduce how greedy you must be at the merchant.
Calories economy builds
Calories economy is the hidden tier list inside the tier list. Parties that casually pick up Calories while advancing the map outscale parties that only deal damage.
Bonfire engine (Hunter-friendly)
- Shielder or support creates / protects Bonfire tiles
- Adventurers end turns adjacent for Calories (see Bonfire Bonanza style payoffs)
- Warriors fight near the engine instead of yo-yoing across the map
Stack engine (Poison-friendly)
- Mage applies, Shielder or summon tools extend, detonation skills cash out
- Healers keep applicators alive through awkward Infantry turns
- Skill Packs that reward multi-status boards beat single-target greed
Sweet tempo engine (Dessert-friendly)
- Bruiser frontliners take space early
- Healer / support converts won space into sustained pressure
- Look for Skill Packs that reward staying in melee or sharing Sweet buffs — evaluate in your build after a few captain runs
Sample Early Access party templates
Hunter learning party (S for new chefs)
- Captain: Hunter
- Adventurers: Warrior, Shielder, Mage (Slow support), Healer
- Goal: learn Prey and Bonfire without omitting sustain
Poison ceiling party (S for veterans)
- Captain: Poison
- Adventurers: Mage, Mage or hybrid Warrior, Bombee Shielder, Healer
- Goal: stack, awaken, and detonate with Infantry discipline
Dessert variety party (A flexible)
- Captain: Dessert
- Adventurers: Warrior bruiser, Shielder, Healer, flex Mage
- Goal: test Sweet identity while keeping a classic tactics spine
Common build mistakes
- Ranking a randomized adventurer as “broken” after one lucky Skill Pack
- Ignoring movement type after a Contract swap
- Starving the restaurant, then wondering why recruits cannot execute the guide
- Copying a veteran Poison stack plan on day one without Glossary time
- Leaving Healer slots empty because demo fights felt short
Related pages
Rebuild these templates after every major patch. Version 0.7 (Vegan + Fungal Abyss) and 1.0 (Fisher + final biome + romantic endings) will introduce new Contracts and probably new “S” lines — until then, master the three EA captains and the four class pillars above.
Frequently Asked Questions
Quick answers to the most common questions.
What is the best class in Food Devils?
There is no single best class. Warriors and Shielders are the safest beginner spine under Hunter, while Mages climb highest in Poison stack parties. Healers become critical on longer Early Access routes.
Do Devil Contracts change class tiers?
Yes. Contracts can reclass adventurers, alter mobility, and replace starting skills. Always grade the post-Contract kit, not the recruit’s original label alone.
What are Calories economy builds?
Parties designed to generate Calories on purpose through Master Rule behavior — such as Bonfire adjacency or stack payoffs — instead of treating Calories as a random byproduct.
Should every party include all four classes?
A Warrior / Shielder / Mage / Healer mix is the best default. Skew the roster only when a Master Rule clearly rewards a specialty composition.
Where should I practice builds safely?
Use Training Grounds and the Glossary from the demo / EA hub before staking a hard expedition on a new Skill Pack plan. See the demo guide for access tips.