
Food Devils Controls Guide
Keyboard, mouse, and controller tips for combat UI, Glossary access, and menus.
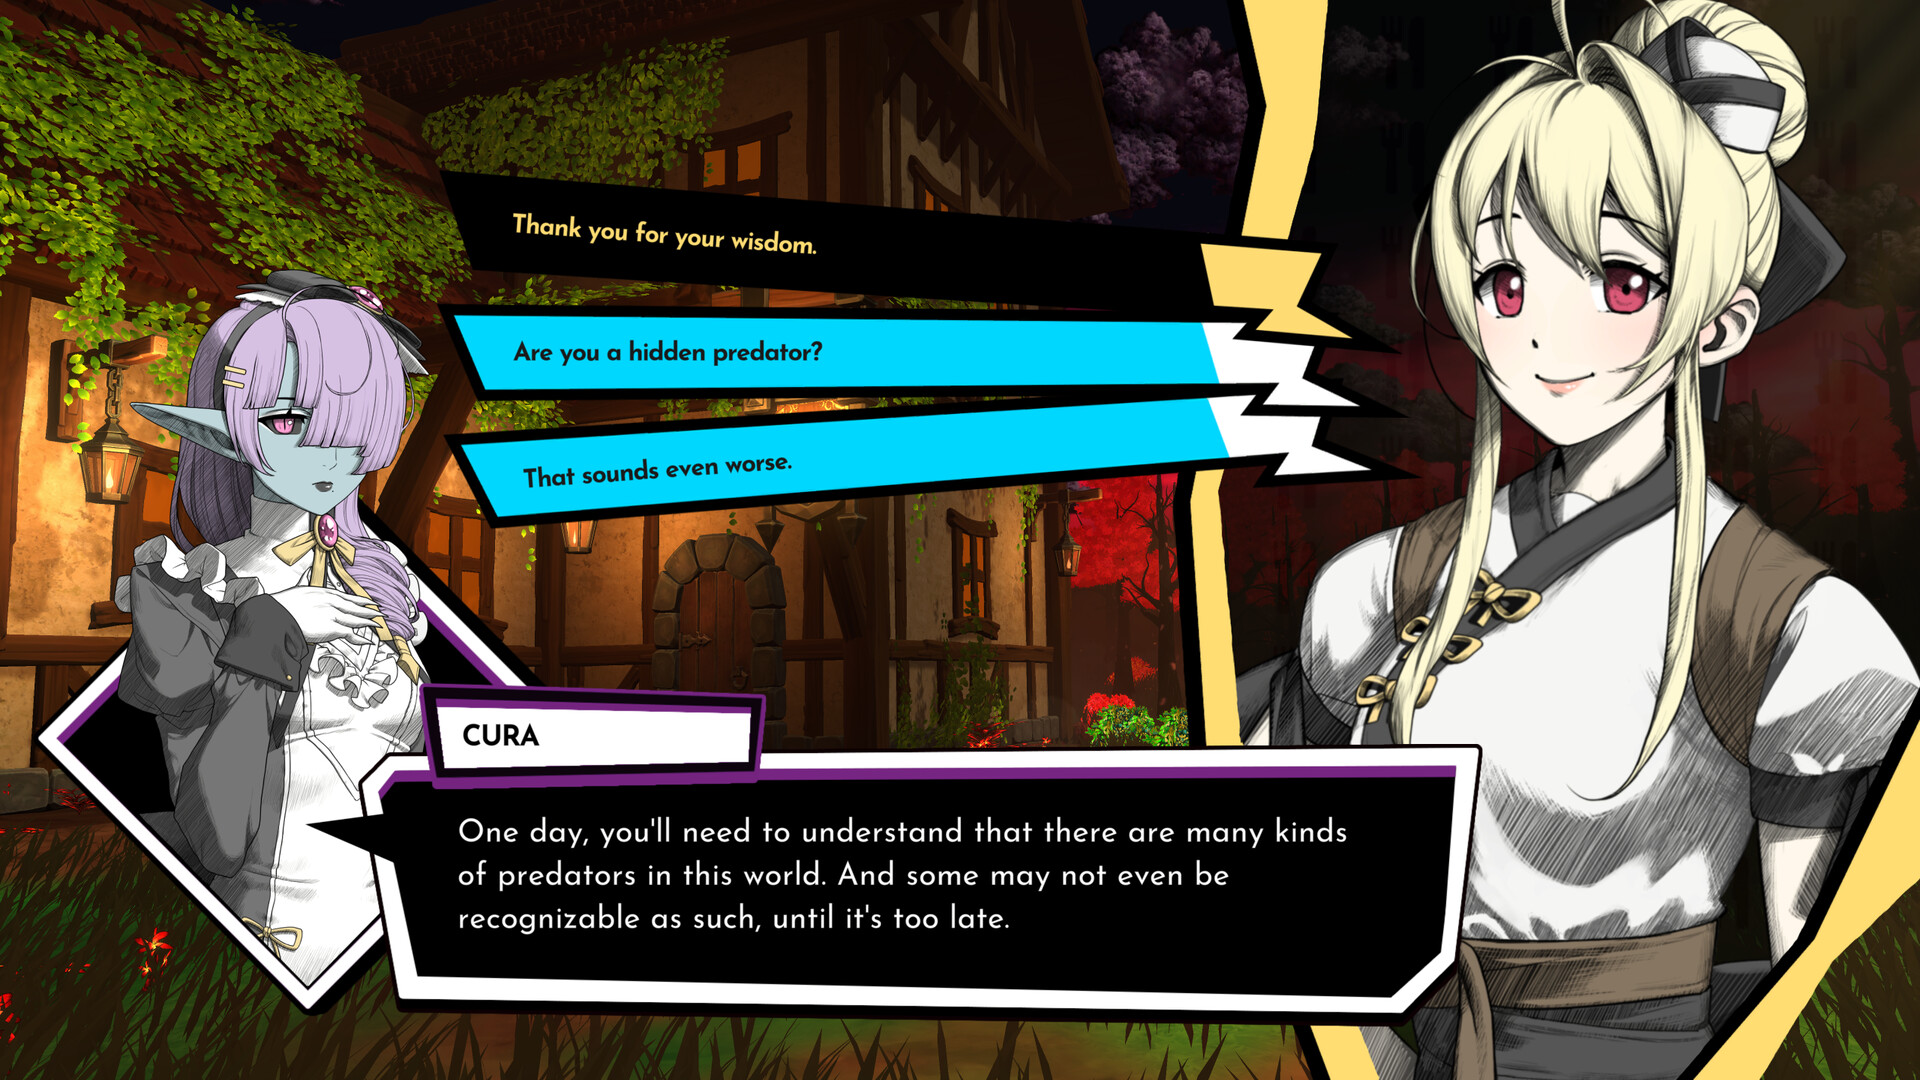
Comfortable controls turn Food Devils’ Hunger tension into a fair puzzle instead of a misclick tragedy. This page covers keyboard and mouse habits, full controller support tips, Glossary access, combat UI reads, and restaurant menu flow. Use it beside System Requirements before long sessions, then return to Getting Started for the gameplay loop.
Food Devils ships with full controller support, English voice over, and interface languages that include Italian, Japanese, and Chinese. Bindings can vary slightly across Early Access patches—demo 0.4.0 already expanded ESC behavior—so treat this as a habits guide, then confirm labels in your current build’s settings menu.
Core mental model
You will switch between three control contexts:
- Restaurant / hub — furniture, cooking, Table Talks, party select.
- Expedition overworld — node selection, merchants, events, rests.
- Encounter grid — movement, skills, previews, context menu, Glossary.
Master the encounter context first. Most permanent deaths happen on the grid when a player confirms an attack without reading the Hunger preview.
Keyboard and mouse essentials
Exact default keys can differ by version, but these habits stay stable:
- Select units and tiles with the mouse; confirm moves only after the threat overlay makes sense.
- Hover skills long enough to read range shapes before committing.
- Right-click or cancel generously—repositioning before confirm is cheaper than a Hungry corpse.
- ESC during encounters opens the context menu (also available by clicking an empty tile). From there, open the Glossary for classes, movement types, Flavor Triangle entries, stats, and other definitions.
- Use the Infernal Codex entry in the same context menu when you need Devil-specific reference; its icon can change based on the active Devil.
If you previously needed an empty tile click to open menus, relearn ESC—it is faster when the board is crowded.
Controller tips
Full pad support means living-room play is intended, not accidental. Tips that prevent hub frustration:
- Learn the confirm / cancel pair before decorating furniture; confirmations often return you to the previous menu automatically.
- In Skill Equip, watch portraits: unselected adventurers darken so the active unit stays obvious. Check HP, movement type, and class labels on the selected human before swapping packs.
- On the party select screen, read the class label every time—randomized adventurers look similar when you are tired.
- At Rest and Merchant nodes, wait a beat after focus moves; older builds had imprecise input edge cases that patches keep polishing.
- Keep a backup keyboard nearby for text-heavy patch notes or Discord troubleshooting, but you should not need it for standard runs.
Recenter the camera and re-check enemy range previews after every stick flick. Purple range overlays should show every tile an enemy can act upon—trust them over memory.
Combat UI literacy (more important than keybinds)
Bindings open menus; literacy wins fights.
- Combat preview — read Hunger and lethal markers before you generate another Calorie.
- “X” on Hungry targets — when an adventurer with at least 1 Hunger faces a potentially lethal attack, the preview may show “X” instead of revealing whether a survival effect triggers. Play around fog of death.
- Status stack colors — newer UI colors make stack counts easier to parse in previews; glance every turn.
- Enemy range (purple) — if it looks incomplete after a patch, update the game; this overlay has been a known polish target.
- Encounter speed settings — a faster encounter option exists for players who want quicker pacing; enable it only after you can still read previews.
- Yellow borders on relevant actions — UI highlights call out important actions; do not ignore the paint.
When something on the UI is unclear, pause via ESC → Glossary before improvising. That two-second habit saves permanent deaths better than any sensitivity tweak.
Dialogue Skip and Auto
Table Talks and story scenes support Skip and Auto controls. Use them when replaying relationship content for bond progress, not on your first pass through a new Devil’s scenes. Mechanical unlock hints often hide in dialogue you would rather mash through. Romance pacing advice sits in Romance and Relationships; restaurant scheduling sits in Restaurant Management.
Restaurant and menu navigation
After confirming furniture or certain set combinations, the game returns you to the appropriate previous menu. Lean into that: make one intentional furniture change, confirm, land back safely, then cook. The Skill Equip screen shows extra info for the selected adventurer—use it while assigning packs that match your Master Rule from Combat Tactics.
Cooking screens reward deliberate clicks. If you are on a controller, hover long enough to see whether a dish matches Hunter’s Salty, Poison’s Sour, or Dessert’s Sweet plan before crafting a full stack.
Glossary access checklist
- Enter an encounter (Training Grounds count).
- Press ESC or click/select an empty tile.
- Open the Glossary from the context menu.
- Read the entry that matches the confusing tooltip.
- Return to the board and execute the plan.
Do this the first time you see Flavor Triangle language, a new movement type, or a status you cannot define in one sentence.
Suggested sensitivity and comfort settings
- Lower camera move speed until threat overlays feel readable.
- Increase text size if your display is far away—relationship and Glossary text matters.
- Enable encounter speedups only after twenty clean preview reads.
- Keep vibration subtle if Hunger deaths already spike your stress.
Practice routine for new inputs
Spend fifteen minutes outside the restaurant in Training Grounds with your chosen device. Practice: move, cancel, open ESC menu, open Glossary, close, finish a puzzle. Then run a short expedition where your only goal is zero misconfirms. After that, normal Guides Hub reading will stick because your hands are no longer the bottleneck.
Troubleshooting common control complaints
- “I cannot find the Glossary” — ESC or empty tile, then context menu.
- “Menus feel sticky after furniture edits” — confirm once and let the auto-return fire; avoid double inputs.
- “Controller focus jumps at Rest nodes” — pause before confirming; keep the build updated.
- “I keep killing Hungry units by accident” — slow encounter speed and force a preview read aloud for three fights.
Controls will not cook your monsters or pick your Master Rule, but they decide whether your decisions ever reach the board intact. Bind comfortably, read previews religiously, and keep the Glossary one ESC away. When the inputs disappear, Food Devils’ real tactics can finally show up.
Frequently Asked Questions
Quick answers to the most common questions.
How do I open the Glossary in Food Devils?
During an encounter, press ESC or select an empty tile to open the context menu, then choose the Glossary.
Does Food Devils support controllers?
Yes—full controller support is built in. Practice Skill Equip and furniture confirm flows on pad before long runs.
What does the combat preview “X” mean?
When a Hungry adventurer faces potentially lethal damage, the preview may show “X” instead of revealing whether a survival effect will save them.
Where can I check if my PC can run the game?
See System Requirements for Steam minimum and recommended specs.
What should I play after learning controls?
Clear Training Grounds, then follow Getting Started into your first expedition.